Secrets to the Perfect Glazed Ham: Juicy & Flavorful Every Time
There are few culinary delights that capture the essence of a holiday feast quite like a beautifully prepared Easy Honey Glazed Ham: Your Stress-Free Holiday Centerpiece. Imagine a magnificent centerpiece, boasting a deep golden-brown crust, sticky with caramelized sugars, and yielding to reveal impossibly tender, succulent meat within. This isn't just a meal; it's a sensory experience, a guaranteed showstopper that brings families together and creates lasting memories. Mastering the art of making a perfect glazed ham for the holidays is simpler than you might think, and we’re here to unlock the secrets to achieving that juicy, flavorful perfection every single time.
From Easter brunches to grand Christmas dinners, a well-executed glazed ham elevates any occasion. The magic truly lies in the balance – the interplay between the savory richness of the ham and the sweet, tangy, and sometimes spicy notes of a thoughtfully crafted glaze. This guide will walk you through everything you need to know, from selecting the right ham to creating an unforgettable glaze and ensuring your ham is cooked to absolute perfection.
The Art of the Glaze: Sweet, Tangy, and Irresistible
The heart and soul of any exceptional glazed ham lies in its glaze. This sticky, aromatic coating transforms a simple ham into a culinary masterpiece, imbuing it with layers of flavor and a stunning caramelized finish. A truly outstanding glaze strikes a delicate balance between sweetness, tanginess, and often a hint of spice, creating an irresistible counterpoint to the ham's natural saltiness.
Most classic glazes build upon a foundation of simple, readily available pantry staples. Key players often include:
- Brown Sugar: Provides deep, molasses-rich sweetness and contributes significantly to the caramelization process, creating that desirable sticky crust.
- Honey: Adds another dimension of sweetness with floral notes, enhancing the glaze's stickiness and sheen.
- Fruit Juices (Pineapple, Orange, Apple Cider): These are crucial for introducing tanginess and acidity, which cut through the richness of the ham and brighten the overall flavor profile. Pineapple juice, in particular, contains enzymes that can help tenderize the meat slightly. Apple cider vinegar also serves a similar tangy role.
- Dijon Mustard: Far from just adding a pungent kick, Dijon mustard acts as an emulsifier, helping to bind the glaze ingredients together, and its sharp, savory notes provide a vital balance to the sugars, preventing the glaze from becoming cloyingly sweet.
- Spices (Ground Cloves, Cinnamon, Nutmeg, Black Pepper): These warm, aromatic spices are synonymous with holiday flavors. Cloves offer a distinctive pungency, cinnamon provides sweetness and warmth, and a touch of black pepper can add a subtle, savory heat.
- Orange Marmalade: Often incorporated for a zesty, bitter-sweet citrus element that complements the other flavors beautifully.
Crafting the perfect glaze is surprisingly simple. Typically, you'll combine your chosen ingredients in a saucepan, bringing them to a gentle boil to dissolve the sugars and meld the flavors. Reducing the heat to a simmer allows the glaze to thicken slightly, ensuring it adheres beautifully to the ham. The ideal consistency is thick enough to coat the back of a spoon but still pourable. For more detailed insights into crafting your signature coating, check out our guide on Holiday Ham Glaze: Sweet & Tangy Perfection with Pantry Staples.
Tips for an Extraordinary Glaze:
- Taste and Adjust: Always taste your glaze before applying it. Is it too sweet? Add more Dijon or vinegar. Not sweet enough? A little extra honey or brown sugar.
- Add a Kick: For those who love a bit of heat, a pinch of cayenne pepper or red pepper flakes can add an exciting dimension to your holiday ham glaze.
- Herb Infusion: Consider simmering a sprig of fresh rosemary or thyme in your glaze for an aromatic twist.
Choosing Your Ham & Prepping for Perfection
Before you even think about the glaze, selecting the right ham is paramount. Most hams sold in supermarkets are pre-cooked, meaning they're safe to eat right out of the package, but still benefit immensely from reheating and, of course, glazing.
- Spiral-Cut Ham: This is arguably the most popular choice for glazing, and for good reason. The ham is pre-sliced in a spiral around the bone, which not only makes serving incredibly easy but also creates numerous crevices for the glaze to seep into, maximizing flavor penetration and caramelization.
- Bone-In vs. Boneless: Bone-in hams tend to be more flavorful and juicier due to the bone marrow, but boneless hams are easier to carve. For a show-stopping presentation and enhanced flavor, bone-in is often preferred.
- Whole vs. Half Ham: A whole ham is a large cut, perfect for very large gatherings. A half ham is more manageable for typical holiday crowds (serving 8-10 people, often with delicious leftovers).
Once you've chosen your ham, a few preparatory steps will ensure the best possible results:
- Bring to Room Temperature: Remove the ham from the refrigerator about 1-2 hours before cooking. This helps it cook more evenly and prevents the meat from drying out.
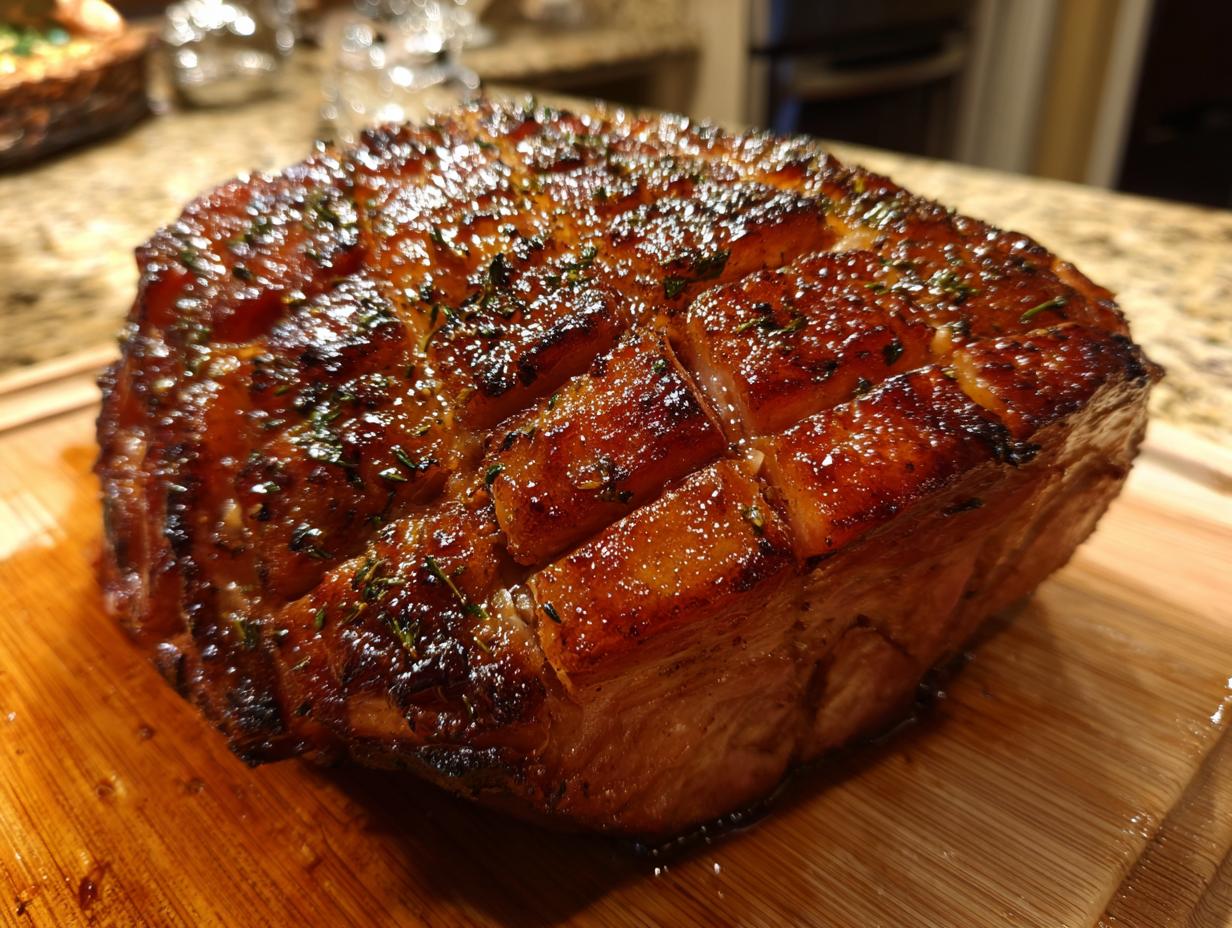
- Score the Ham (if not spiral-cut): If you have a whole, un-sliced ham, scoring the fat layer is a vital step. Using a sharp knife, make shallow, diagonal cuts across the top in a diamond pattern, approximately 1/4 to 1/2 inch deep. These scores not only look beautiful but also allow the glaze to penetrate deeper into the ham and render the fat more effectively, resulting in a crispier, more flavorful crust.
- Initial Baking: Place the ham, cut-side down (if it's a half ham), in a large roasting pan. Pour a small amount of liquid (like water, apple juice, or chicken broth) into the bottom of the pan to create a moist environment, preventing the ham from drying out during the initial cooking phase. Cover the ham loosely with foil to keep it from browning too quickly before the glaze is applied.
The general rule of thumb for pre-cooked hams is to reheat them to an internal temperature of 140°F (60°C). Cooking at a lower temperature (e.g., 275-300°F or 135-150°C) for a longer period will yield the juiciest results before you begin the glazing process.
Glazing Techniques for Optimal Flavor & Presentation
The timing of your glaze application is critical for achieving that perfect caramelized crust without burning the sugars. Here’s how to master it:
- When to Glaze: Resist the urge to apply the glaze too early. Sugars can burn if exposed to high heat for too long. For most hams, the best time to start glazing is during the last 30-60 minutes of the total cooking time. This allows the glaze to melt, adhere, and caramelize beautifully without scorching.
- Basting is Key: Remove the foil from the ham. Generously brush the prepared glaze all over the ham, ensuring it gets into all the nooks and crannies (especially important for spiral-cut hams). Return the ham to the oven, increasing the temperature slightly (e.g., to 350-375°F or 175-190°C) if your recipe calls for it, to encourage browning. Continue to baste the ham every 10-15 minutes with more glaze from the saucepan, or with the pan juices that have mingled with the glaze. This frequent basting builds up those magnificent layers of flavor and stickiness.
- Achieving the Perfect Caramelization: Keep a close eye on the ham as it nears completion. The sugars in the glaze can go from beautifully caramelized to burnt very quickly. If you notice the ham browning too much, you can lightly tent it with foil again, but avoid covering it completely to allow for continued caramelization.
- Temperature for Doneness: Use a meat thermometer to ensure your ham reaches the desired internal temperature of 140°F (60°C) for a pre-cooked ham. Insert the thermometer into the thickest part of the ham, avoiding the bone.
- Resting Period: Once your ham is perfectly glazed and cooked through, remove it from the oven and loosely tent it with foil. Allow it to rest for at least 15-20 minutes before carving. This crucial step allows the juices to redistribute throughout the meat, ensuring every slice is incredibly juicy and tender. Skipping this step can result in dry ham.
The beauty of a perfectly glazed ham is its ability to impress with minimal fuss. For a less stressful holiday, consider a recipe designed for ease and flavor, much like an Easy Honey Glazed Ham: Your Stress-Free Holiday Centerpiece. The presentation alone, perhaps garnished with fresh orange slices, pineapple rings, or sprigs of rosemary, makes any meal feel like a celebration.
Beyond the Main Course: Leftovers and Pairings
One of the true joys of preparing a generous glazed ham for the holidays is the promise of delicious leftovers. Glazed ham is incredibly versatile, transforming into a variety of delectable meals long after the holiday feast has ended:
- Sandwiches & Wraps: Thinly sliced ham makes for amazing sandwiches, especially with a sharp cheddar, Dijon, and some fresh greens.
- Breakfast Staples: Dice leftover ham for savory omelets, frittatas, or to mix into scrambled eggs.
- Soups & Stews: Ham adds incredible depth of flavor to split pea soup, navy bean soup, or a hearty lentil stew. Don't forget to use the ham bone for stock!
- Fried Rice: A quick and easy weeknight meal, using diced ham, rice, veggies, and a splash of soy sauce.
To store leftovers, wrap tightly in plastic wrap or foil, or place in an airtight container in the refrigerator for up to 3-4 days. For longer storage, freeze portions in freezer-safe bags or containers for up to 1-2 months. Leftovers reheat beautifully in the oven or microwave.
When it comes to serving your glorious glazed ham, consider these classic and comforting pairings to complete your holiday spread:
- Creamy Mashed Potatoes: A timeless combination, perfect for soaking up any extra glaze or pan juices.
- Roasted Vegetables: Crispy roasted Brussels sprouts, green beans, or asparagus offer a fresh, earthy counterpoint.
- Buttery Dinner Rolls: Essential for wiping plates clean and making delightful mini ham sandwiches.
- Southern Comfort: For a soul-warming spread, pair with homemade mac and cheese, tender collard greens, and moist baked cornbread.
- Sweet Potato Casserole: The sweet notes of this dish complement the ham's savory flavor beautifully.
A perfectly crafted glazed ham for the holidays is more than just a recipe; it's a tradition, a centerpiece that embodies the warmth and joy of the season. By focusing on a balanced, flavorful glaze, selecting the right ham, and employing careful cooking and glazing techniques, you can achieve a truly juicy and flavorful masterpiece that will delight everyone at your table. Don't be intimidated; with these secrets, you're well on your way to creating an unforgettable holiday ham that will be talked about for years to come.
